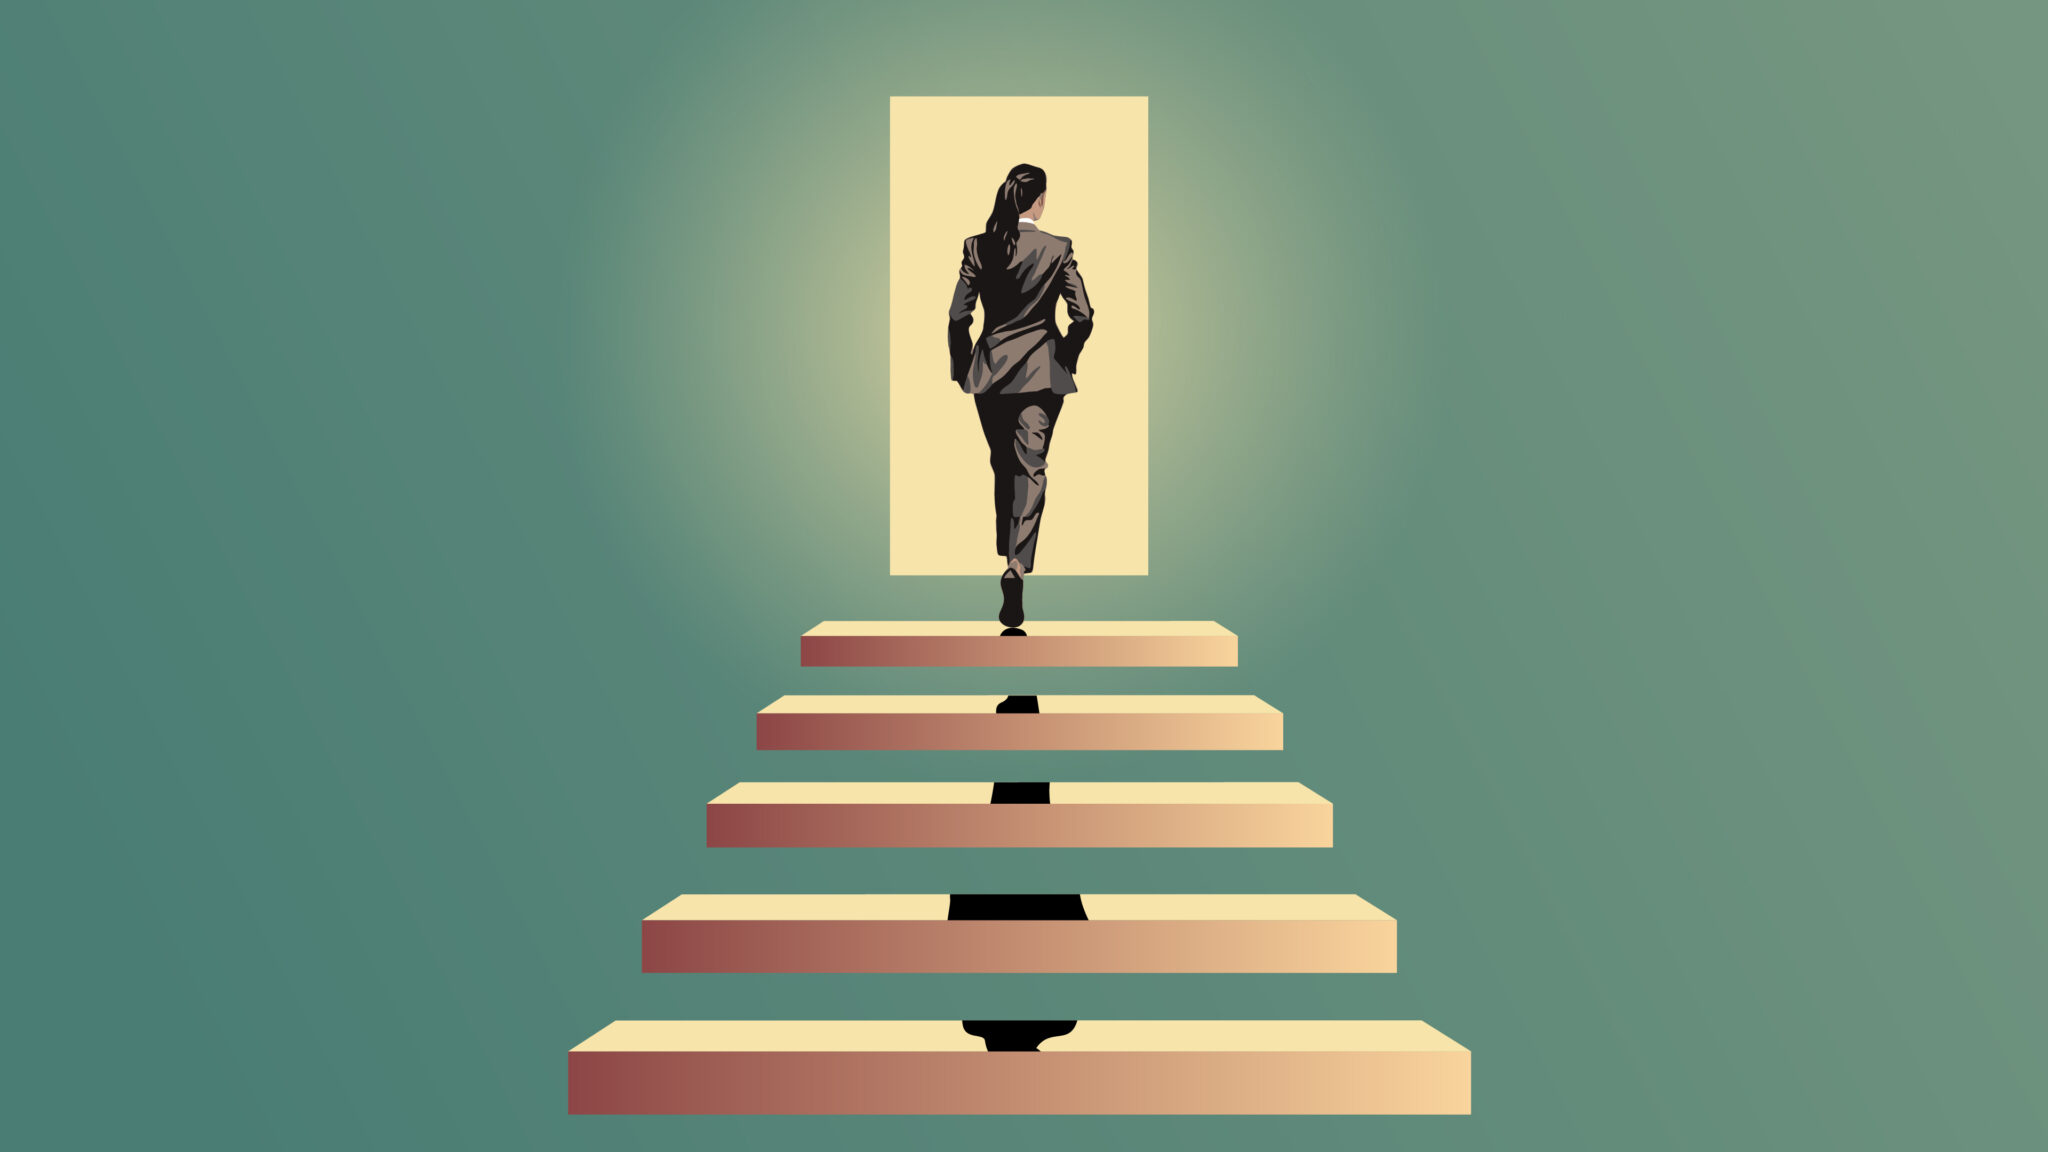
Portrait photography can be used to document a finished case or as a marketing tool for advertising your skills to potential clients, and like radiographs in the endodontic referral letter, can be used to enhance a reporting letter. The skill required to produce professional quality portraits, requires work but the journey will be a rewarding experience.
My personal photographic journey began in public school with black and white contact sheets exposed with a light bulb and ended in a photographic darkroom with Dr. Larry Gaum as B & L Photo. How Larry and I loved photography and we thought of doing it on a professional basis; thus the genesis of B & L Photo. Our first wedding shoot was the beginning of the end. Ten days later the marriage was annulled and naturally no one wanted to pay for the beautiful pictures Larry and I had taken. Those were the days of Cibachrome and colour printing in complete darkness and the end of my love affair with photography. Twenty years later I started over. I played around with simple point and shoot digitals but was never satisfied with the quality. Discovering that all of my old Nikon Lenses worked on the then new Nikon D-100, I started over again, this time using digital. It was indeed a treat to process just the number of pictures needed — not the mandatory 20 or 36. I remember the days of film, buying Ektachrome in 100 foot rolls — rolling out 6 to 10 frames on custom cassettes and sometimes accidentally exposing the entire 100 feet. Today it is a simple task to shoot and process just what you need and the results are immediate.
Many dental practices utilize an SLR digital camera to record intra-oral views; by changing the lens and the light source, the same digital body can be used to create beautiful portraits. (Figure #1) Portrait photography shows off the aesthetic component of your dentistry. It highlights the smile in relation to the face and as Frank Spear has often stated, treatment planning is developed from the smile back and is a dominant component of prosthodontic treatment.
Intra-oral cameras utilize either a ring light or dual/triple point flash systems to illuminate the mouth. They are usually mounted on the end of a 100mm long focus macro lens. Unfortunately the same lighting sources and lens cannot be successfully used to do justice to a portrait. It is possible to use natural light and some spectacular portraits are the result of natural lighting. But even natural light needs support at certain critical times. In Figure #2 the sun was behind my son and I used fill flash on his closed side and a reflector opposite. However due to its unpredictability, especially inside a dental office, studio lighting is the gold standard; as it offers unlimited artistic expression and consistent predictability. Multiple lights are needed in order to sculpt and make your subject appear three dimensional. Lights which illuminate the subject from different directions create shadow and highlight, and help create roundness and separation.
Strobe lighting is the most commonly used studio lighting. The strobes utilized are usually larger than the on board flash units found on top of the camera. Studio strobes have a rheostat to adjust the light output and built in slaves to allow more than one light source to be fired at the same time (Figure #3). Many of these studio strobes have modeling lights which run cool yet adequately illuminate the subject posing for portraits. This low level lighting keeps the pupils dilated and allows for multiple catch lights (Tiny reflections in the eye that add sparkle) (Figure #4). Under the camera settings, you can turn the red eye program off as the halogen lights which act in duo with the strobes eliminate the need for this program. The strobes are usually placed on a tripod stand which allow for unlimited possibilities for light direction and the creation of modeling (Figure #5).
The strobe lights are usually softened by using reflective umbrellas, and/or soft boxes. The soft boxes offer the greatest softening effect and are my first choice. (Figure #6) Pocket wizards (Pocket Wizard plus Transceiver Elmsford NY) (Figure #7) are used to fire off the first strobe and then the rest are automatically discharged.
There are two ways to decide on the proper exposure when shooting, either by using the histogram or by metering. I started out using the histogram on the camera and then realized it did not isolate the face. I then moved to the computer but I found it too labor intensive. I now use a Sekonic flash meter (Figure #8).
I meter the back of the head ASA set for 100, the dome on the meter is down and it is aimed at the hairlight. I then develop the main light so that it is 11/2 stops more closed than the hair. If the hairlight is F-8 then the kickers (additional strobes) should read the same F-8, as well. Next take a reflective spot metering of the background and it should be the same as the main. (F-13). Thus the main is F-13 @ a shutter speed of 1/125. If you have purchased extra strobes one can be used for the background.
The key is to keep it simple but yet be able to sculpt the light on the subject’s face. Four lighting sources are used to create ideal portrait lighting- the hair light, the background, the main and a reflector (Figure #8A).
A rectangular soft box positioned above the background becomes the hair light. It gives the subject the freedom to move and adds separation and lightness. I consider this light to be my sun but much softer (Figure #9). The background light, another strobe mounted on a stand, creates separation. My main light is another soft box mounted on a stand. The mobility of the stand allows me to choose between three types of lighting (portrait, glamour or modified glamour) depending on the desired mood. The softbox and strobe are used to sculpt light on the closed side of the patient’s face. The bottom of the inside of the box is either at eye or collarbone level-depending again on whether glamour or portrait is chosen.
You do not want to be too close to the subject as would be the case with a normal 50 mm lens. I have found a fixed 85 mm lens to be the ideal portrait lens, a lens which will give a 1:10 ratio if desired. This 1:10 setting allows the calibration of some measurements for cosmetic parameters in certain programs available today (CADI, GPS). These measurements (1:10) were developed for film and they represent the objects relation to its real size. Thus 1:1 is life size and 1:10 is 1/10 life size.
Much confusion exists in the digital world due to the size variation in the sensors used to record the image. The size is related to 35 mm film and is designated as full or 1/2 the size of the negative which defined film photography. A lens with a focal length of 50mm becomes a 75mm lens when used with a camera with a 1/2 size sensor. The 85mm lens that I prefer for my portraiture becomes a 127mm lens on my Nikon 100.
I prefer non-patterned and non-distracting backgrounds. I invested in two which can be folded out of the way when not in use and take up little space yet open to a large rectangle 2ft x 2ft when needed (Figure #10A). Each background supports 2 colours thus I have 4 colours — black, white, grey and blue. The background colour should compliment rather than clash with the clothing. One colour will not always work with different coloured clothes. Black is my favorite as it compliments most dark colours. These backgrounds unfold and attach by a ceiling hook once fully opened.
Having worked long and hard to complete the dentistry, a trust has developed between yourself and the patient (Figure #10B).
The patient feels comfortable with you and your assistant and this trust can flow into a great portrait session (Figure #10C). Many of your patients have not had their portraits taken since they graduated and many get right into the fun of the 1-2 hours invested in the process. We do not charge for the portraits and I will print any of the 50-75 pictures that we shoot for the session — usually the patient stays with the 4-5 that I pick as being the best. I usually shoot in front and slightly above my subject, especially for heavier subjects. My lens allows me to work 6-8 feet in front of the subject.
Always try to fill the histogram completely and evenly leaving about 15% on each end. In that way, no clipping (loss of detail) occurs in the shadow or highlights (Figure #11). If the histogram runs out of room to the right hand side, it needs less light as it is over illuminated; that may mean moving your main light farther away or decreasing its output (Figure #12). It does not mean closing the f-stop further. If the opposite occurs and the pixels run off the bar to the left , then more light is needed ; by moving lights and changing intensity, the dentist/photographer can quickly capture just the right lighting (Figure #13). Using a face histogram is an even more exacting tool for finding just the right amount of light. The face histogram involves using Photoshop and we will cover that issue in a future article.
Position the white balance in the menu portion for flash or better still create a custom profile using an 18% grey card. The colour space that you program with the camera depends on how you eventually want to final process the prints. If your ultimate destination is for a lab to process, then SRGB is the proper colour setting but if you wish to complete your own processing, then Adobe RGB 1998 is more appropriate.
The ISO reading should be set at the lowest possible reading which in most cameras is 100.
Program the focus for a single point and use this to focus on the eyes. You want the eyes to be tack sharp.
The metering mode on the camera is not used as you will set the exposure according to the sekonic lightmeter utilizing the strobes as your light source. If the hairlight meters F8 you would arrange the lighting for the background to produce F13 as a reflective spot reading, the kickers would be at F8 (the same as the hairlight) and the main would be F13.
Use 1/125 second to be sure that the slaved strobes will not be out of sync with the camera.
I like a fixed focal length lens (85mm lens) and I normally shoot at F8.
Quality — Image size L Mode — Manual ISO — 100 Aperture — F8 Shutter Speed 1/125th sec White Balance — flash or custom One shot AF mode Single spot focus Auto focus — on
The purpose of the article is to share my photographic journey with a glimpse into the nuances of portrait photography. Like dentistry familiarity with equipment is essential in order to become creative. Portrait photography is an exciting venue to display your dentistry and present opportunities for marketing that were not possible five years ago. I hope to be able to continue this journey with more articles to follow.
Special thanks to Cam Levack who is Creative Director for Vistek Photo, Video and Digital Imaging for arranging all the images of equipment.
Some images in the article by Dr. Bruce Glazer are courtesy of professional photographer John Woodward. Mr. Woodward will receive his Master of Photography degree at the 2010 Professional Photographers of America National Convention in Nashville, TN. www.johnwoodwardphotography.com
oh
Bruce Glazer is the prosthodontic editor for Oral Health. He can be reached at bglazer@rogers.com
@ARTICLECATEGORY:593;