

The demand for 3D printing in dentistry has led to remarkable technological developments, making it a more accessible solution for dentists. According to Dental Tribune, between 2023 and 2035, 3D printing in dentistry is expected to grow an average of 12.6% per year over the 12-year period.
3D printing is an additive manufacturing process in which a model, restoration, or dental appliance is fabricated by laying down successive layers of material until the finished product is formed. This allows dentists to create dental appliances and restorations for patients quicker, more accurately, and often more cost-efficiently than traditional manual methods.
There are 3D printers and materials manufactured specifically for dentists. 3D printers produce highly accurate models, restorations, dentures, aligners, retainers, crowns, bridges, provisionals, and surgical guides. This is useful because highly accurate and customized shapes are needed to match the dental structures of each individual patient.
We started using our 3D printer for models, occlusal guards, and surgical stents. Now we fabricate many restorations we had formerly sent to the lab. Shifting production of all-on-x prototypes, ceramic crowns, provisional crowns, and bridges to our 3D printer has made our workflow much more efficient and saved us thousands in lab fees. Achieving comparable or superior fit and esthetics from a lab-made restoration with an in-office printed restoration is paramount. Here are some of the ways we are using 3D printing to streamline our procedures:
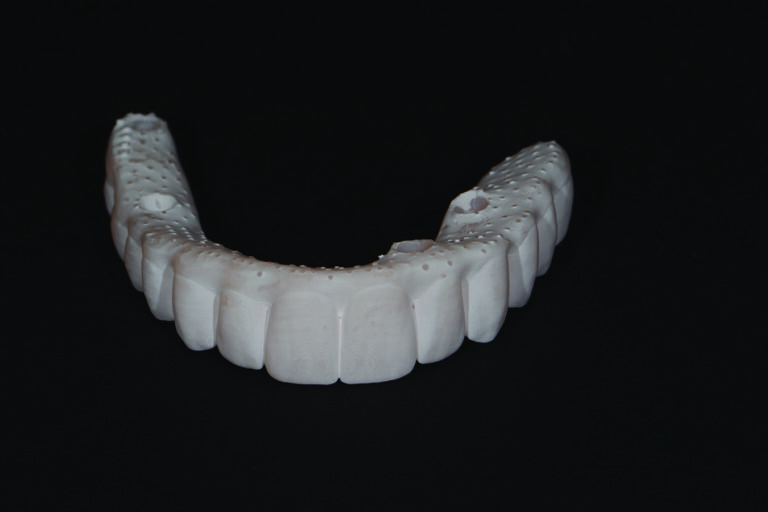
MODELS
Models are easily printed by uploading the STL file from an intraoral scanner onto a 3D printer’s software. (Fig. 1)
Fig. 1
ALL ON X
The all-on-x prototypes/ try-ins can be fabricated in the office on the day of implant surgery. These cases are planned and designed prior to the surgery appointment. After the implants have been placed, scan bodies are put on the implants, and an intra-oral scan is done. The scan is sent to the awaiting lab. The digitally planned restoration is then overlayed onto the implant scan. A prototype fit to the current implants is created. The file for the all-on X prototype was sent back to the dental office and uploaded to the printer and printed out in about 45 minutes. (Fig. 2)
Fig. 2
This prototype file can also then be used to print an all-on X provisional. (Fig. 3)
Fig. 3

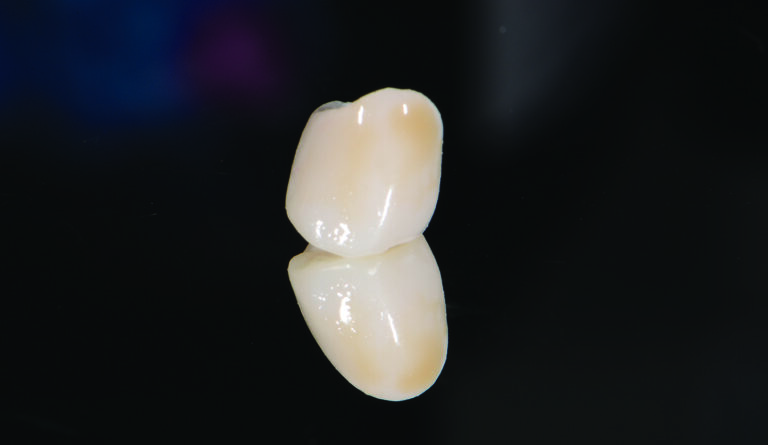
INLAY/ONLAY/CROWN RESTORATIONS:
Ceramic-filled resins can be used to print permanent inlays, onlays and crowns. Much like the workflow in milling these restorations, the teeth are prepped, tissue is retracted, the prep is scanned, the restoration is designed, and then uploaded to the 3D printer for fabrication. The printer can fabricate multiple units in just a few minutes. These were printed on the Ackuretta Sol Printer. Figure 4 shows the restorations after printing, rinsing, curing, and polishing. Figure 5 shows the restoration glazed and ready for insertion.
Fig. 4

Fig. 5
PROVISIONALS
One of my favourite uses for my 3D printer is for restorative provisionals. Here is an anterior case of three veneers and one crown. After the smile design, the case is prepped, some gingival sculpting is done, and then the preps are scanned. The provisionals are designed based on the preplanned smile design. Then the provisionals can be printed, rinsed, cured and glazed in about 30 minutes. The provisionals are a very strong, esthetic and accurate prototype. (Figs. 6, 7, 8)
Fig. 6

Fig. 7
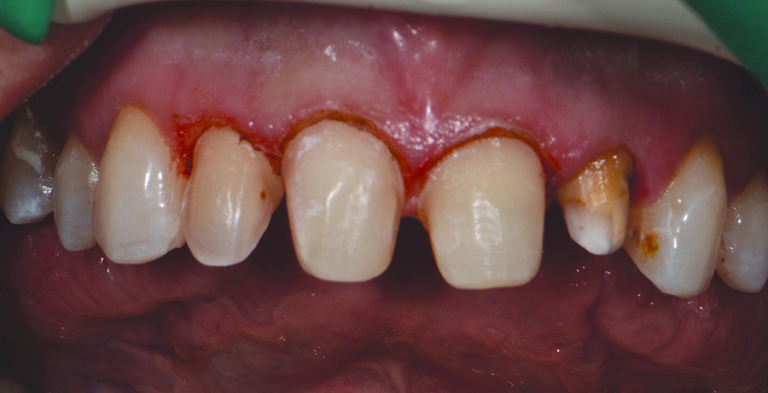
Fig. 8

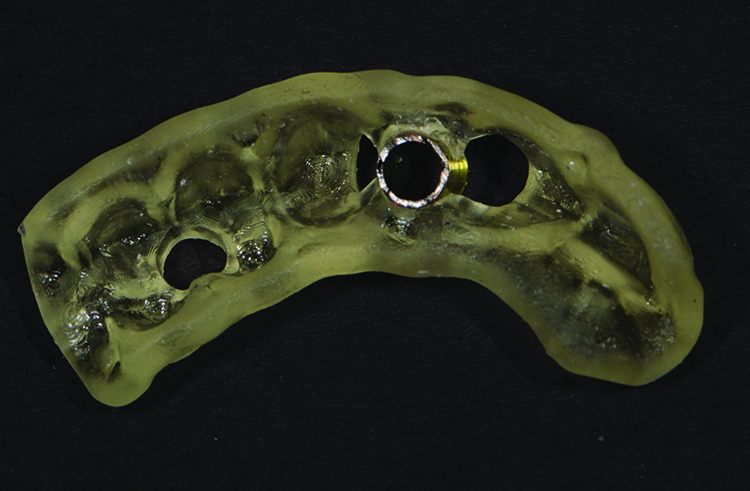
SURGICAL GUIDES
Surgical guides for implant placement can be produced very efficiently in the office. (Figs. 9, 10, 11)
Fig. 9
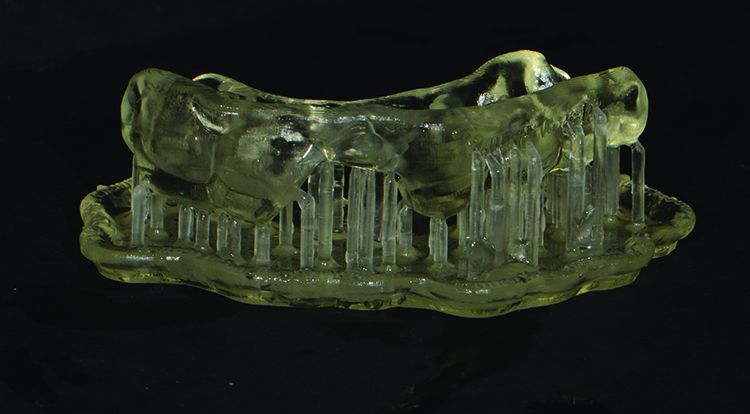
Fig. 10
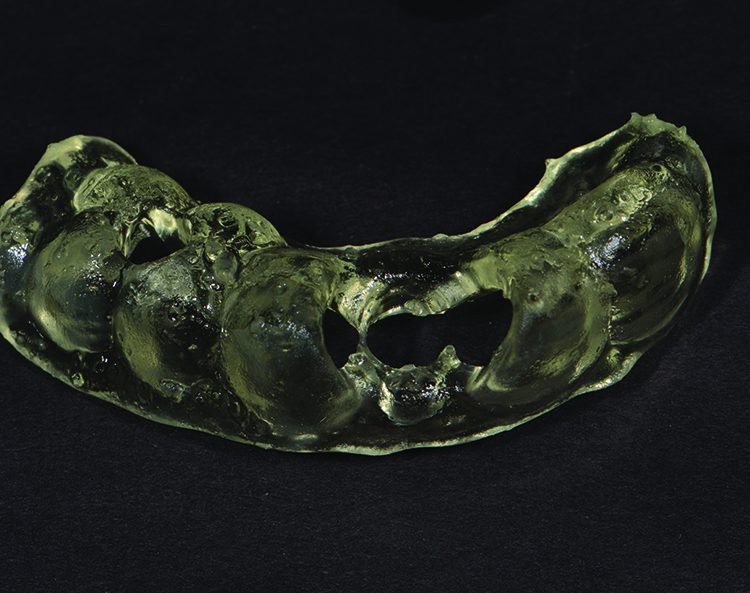
Fig. 11
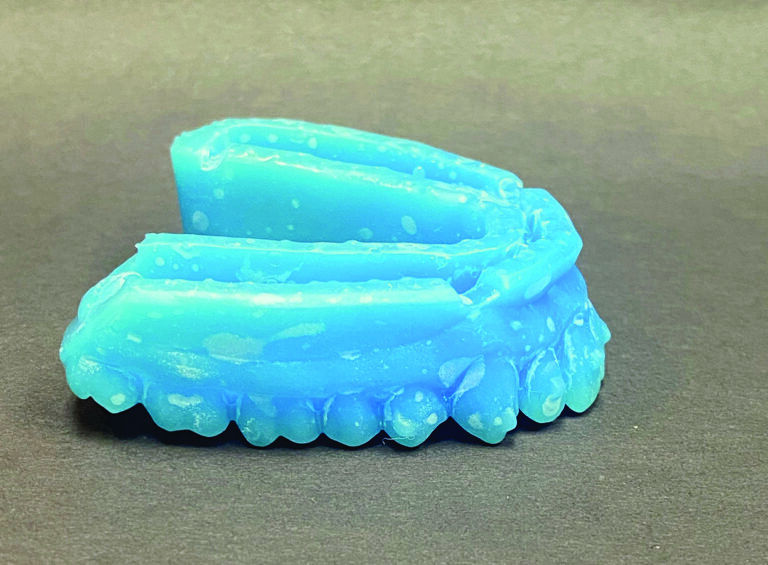
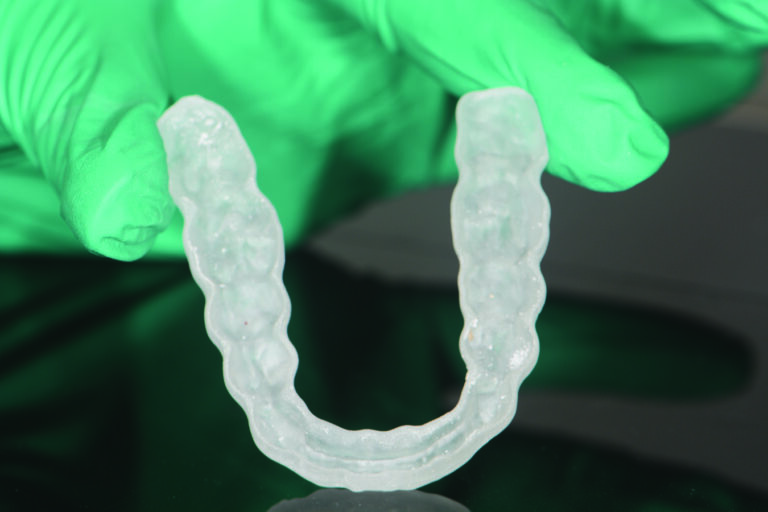
OCCLUSAL GUARDS
Occlusal guards are one of the first things we started regularly printing in our office. They are easy to design directly from intra-oral scans. We print both hard and soft guards depending on the needs of the patient. Here is an example of a flexible printed guard. (Figs. 12,13)
Fig. 12

Fig. 13
3D printing is quickly becoming the next step in the digital revolution. The dental industry has quickly adopted 3D printing in dental labs and chair side. Dentists, dental assistants, and technicians can accurately and efficiently produce study models, smile design models, implant surgical guides, occlusal guards, clear aligners, dentures, custom trays, provisional restorations, and permanent restorations. Dentists are implementing 3D printing technologies in-house because of its’ efficient turn-around time and accessibility. 
Oral Health welcomes this original article.
About the Author:

Dr. Susan McMahon owns the largest cosmetic dental practice in Western Pennsylvania. She is accredited by the American Academy of Cosmetic Dentistry, an invited Fellow of the American Society for Dental Aesthetics and a Fellow in the Academy of General Dentistry. Dr. McMahon has devoted her professional career to the pursuit of advanced technologies in cosmetic and minimally invasive dentistry. She frequently lectures on minimally invasive dentistry, technology and conservative, undetectable cosmetic dentistry internationally. She has been honored as a Top US Dentist over 20 times and is also voted by her peers as a Top Pittsburgh Dentist every year for over two decades.


